
All a good home-made stock requires is throwing some basic veg, chicken bones, herbs and water into a pot and letting it simmer away for a few hours. The slow cooking process extracts all the nutrients and flavour from the bones as well as gelatine, which gives home-made stock a silky mouthfeel that the store-bought stuff lacks.
Making a switch to home-made stock will completely transform your risotto, soups and casseroles. It’s also a great way to reduce food waste – put those limp celery ribs, carrot top offcuts and chicken carcasses from Sunday’s roast to good use.
The Secret to a Clear Stock
As much as you may want to tap into the childhood thrill of creating a bubbling, boiling potion over the stove top, the secret to beautifully clear stock is to agitate it as little as possible.
Do not stir the stock and keep it at a very gentle ‘dancing’ simmer. Avoid adding fatty offcuts to the stock pot and skim any impurities from the surface while cooking.
Step 1: Mirepoix
The first step in stock (and most recipes) is frying mirepoix in a touch of oil until sweet and aromatic. Mirepoix is a fancy French term referring to a vegetable base of onion, carrot, and celery.
For chicken stock, the bones are the star of the show, so you only need about 10% veg to 90% bones (about half an onion, a celery rib and a carrot).
Chop your veg into equal-sized large chunks so that they cook at a similar rate. You can also put a twist on tradition and add other veggies to your mirepoix mix – fennel, leek and mushroom are some of our favourites.
Step 2: Bones
The next step is to add your chicken carcass or bones – these can be raw or roasted depending on the flavour you’re going for.
A white stock is made by using raw bones and has a clean, neutral flavour that is more versatile for cooking. Brown stock, on the other hand, uses roasted bones to get a richer, more complex flavour and is darker in colour as a result.
Step 3: Acidity
Acidity, often overlooked, is needed to create balance and brightness while cooking. Deglaze your pot with 1/4-3/4 cup white wine, or use 1-2 tsp apple cider vinegar for an alcohol-free version. If using wine, simmer for a few minutes to reduce.
Step 4: Herbs and spices
Now, throw a bundle of fresh herbs into your stock pot such as thyme, parsley (stems and all) and bay leaves. Adding whole spices such as black peppercorns and star anise can also create a more exotic broth. Do not season with salt – leaving your stock unseasoned makes it more versatile when cooking with it later.
Step 5: Simmer and skim
All that is left to do is to cover everything with cold water, then keep the concoction at a low simmer for 4 hours. Top up the water if necessary to make sure everything stays covered. During the cooking time, skim any foamy scum and impurities that rise to the surface using a ladle or spoon and discard.
Step 6: Strain
Remove any large bones from the stock pot using a slotted spoon and discard. Strain the stock through a sieve lined with muslin cloth or a few pieces of paper towel. You can also store it as is or (to save on space) you can simmer the strained stock to concentrate it further.
Step 7: Store
Freeze the cooled stock in labelled containers or sealable plastic bags in 1 to 3 cup amounts. Defrost when needed by adding it straight to your pot, microwaving or defrosting the stock in the fridge overnight.
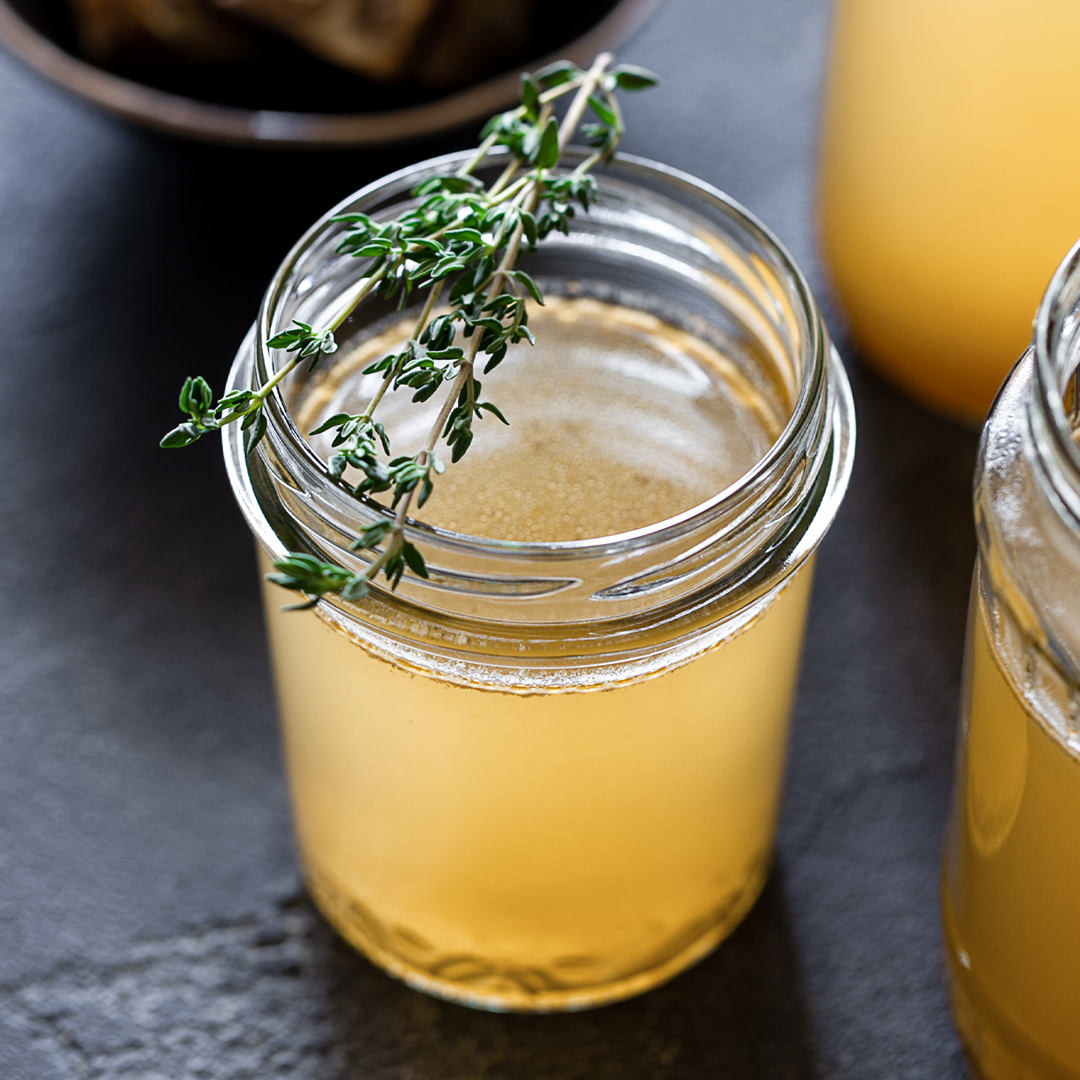
Don’t worry if your stock takes on a jelly-like consistency once cooled – this is a good indication that you cooked your stock for long enough to extract the flavour and gelatine from the bones.