Get to know the Editor with these 4 must-haves for the month
Best-O pesto!
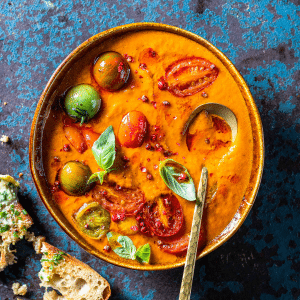
I am a sucker for pesto! I’m always on the lookout for a new dish to dollop it onto or a new herb to sneak into it. Who can resist spoonfuls of pesto over cooked pasta for a quick lunch or smeared onto dough and topped with mozzarella for an elevated homemade pizza?
But when the pockets are pinched, lathering pesto onto your sarmie for a speedy snack seems like a fantasy! Which is why I’m a firm believer in keeping fresh herbs in the fridge and making pesto from scratch. It’s so simple, so delicious, and most importantly, you can use any herbs you like!
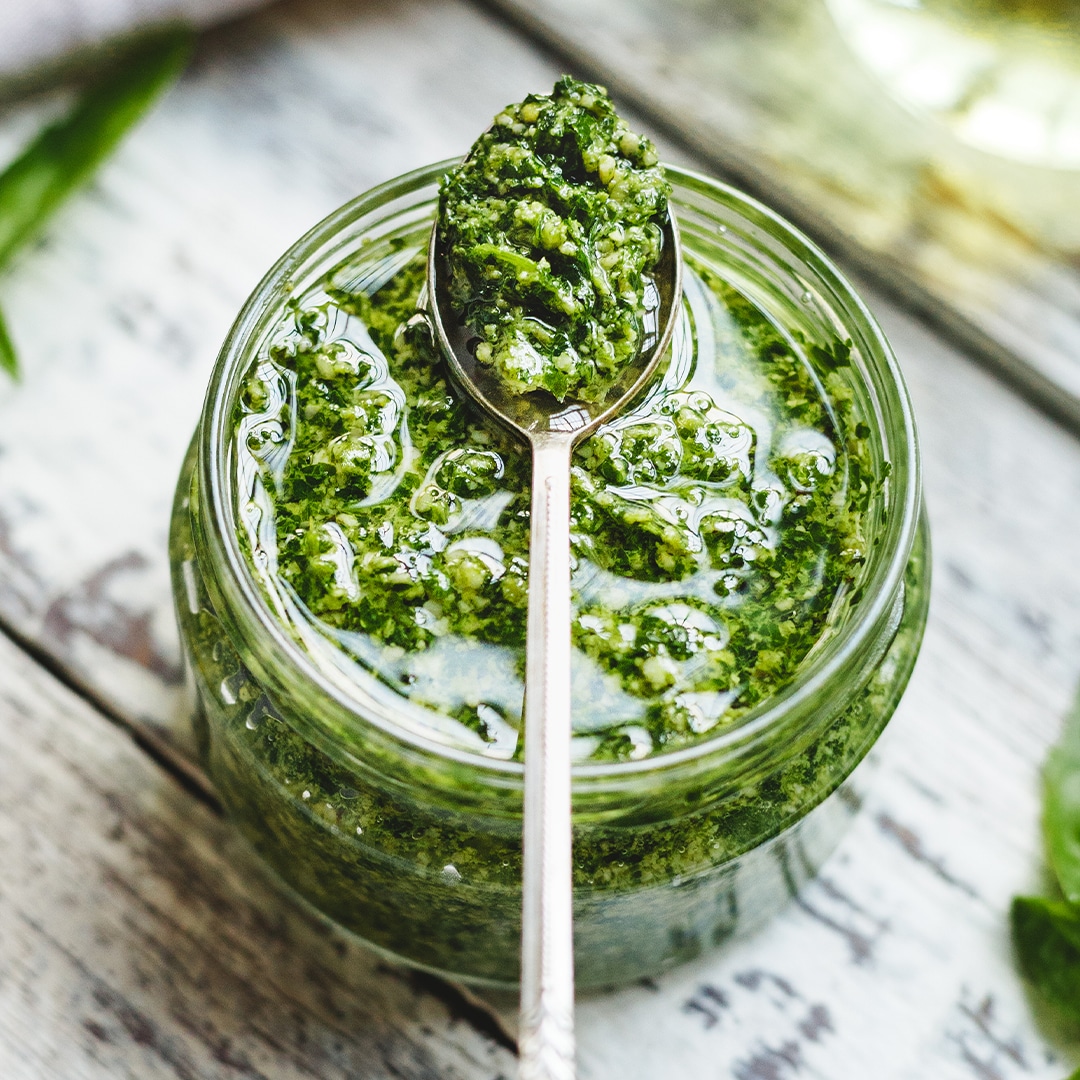
3 Herb pesto
MAKES 1 CUP TOTAL TIME 10 MIN
- Pine nuts or almonds ½ packet
- Garlic, chopped 3 cloves
- Fresh basil, stems discarded 1 punnet
- Fresh thyme, stems discarded 1 punnet
- Rocket, roughly chopped 1/4 cup
- Olive oil 1/3 cup
- Parmesan, grated 1/4 cup
- Lemon, zested and juiced 1
- Coarsely ground black pepper
- Toast the nuts in a dry pan for 2–3 minutes until golden and fragrant.
- Using a pestle and mortar, grind the garlic, nuts and a pinch of salt.
- Add the herbs and continue crushing until a paste forms.
- Slowly pour in the olive oil while mixing until incorporated.
- Stir though the parmesan, lemon juice, zest and season with coarsely ground black pepper.
Pesto cheat code
- Use any herb your heart desires or simply use what you have on hand. Sage, parsley, coriander and oregano make great substitutions for basil.
- Pine nuts are expensive, so swap them out for almonds, walnuts or peanuts.
- Canola oil has a milder flavour than olive oil and works just as well.
- No parmesan? No problem. A hard cheese like pecorino or Gruyère works. But for a pesto on a budget, try a mature cheddar.
- Store pesto in an airtight container and it will last up to a week in the fridge. Yes, pesto does freeze well! Freeze it in ice cube trays and it will last for up to 6 months.
Salad jar etiquette
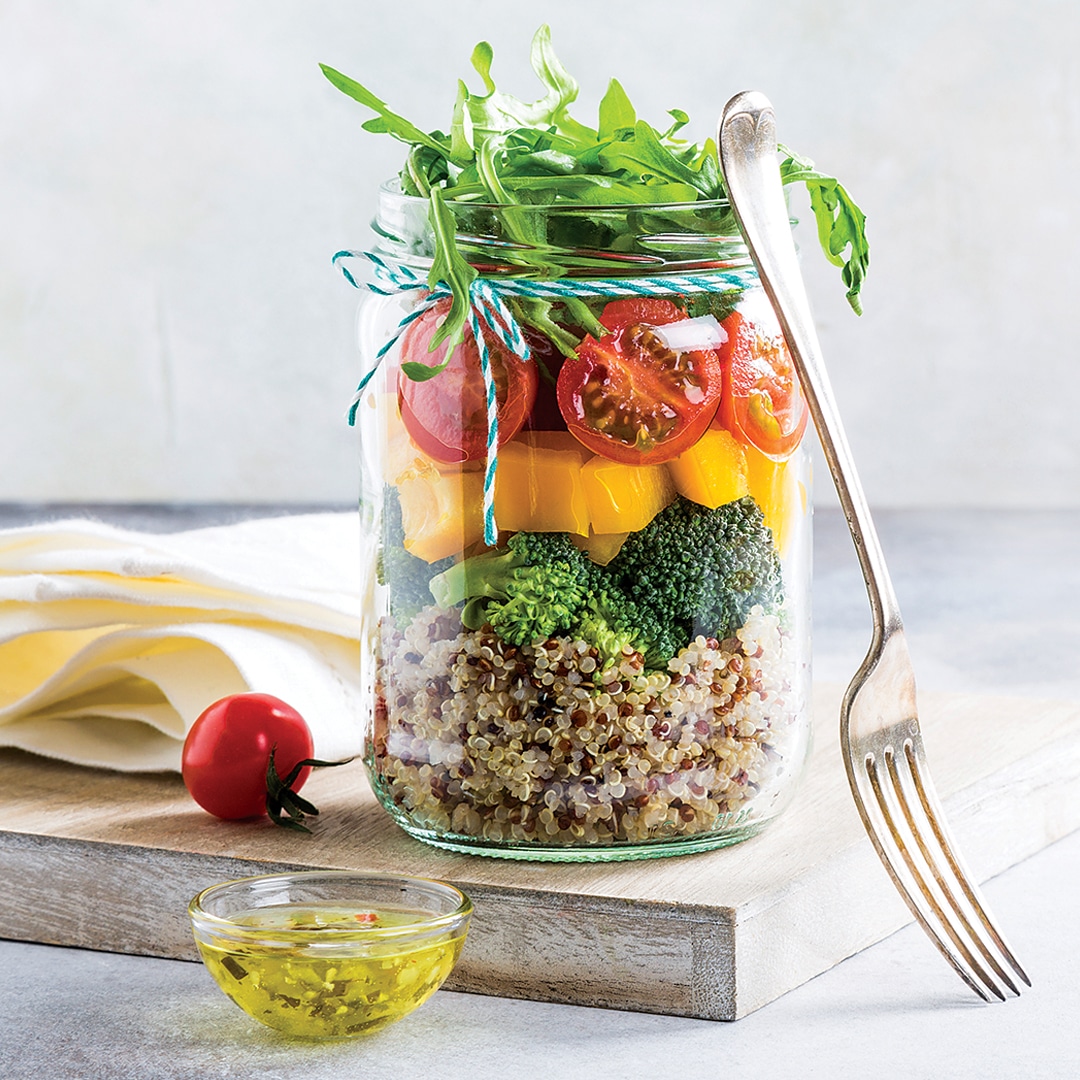
It’s that time of the year when we’re all scrambling for new lunch ideas. Consider packing your salad in a glass jar and taking it to work. Here are a few of my tips:
All dressed up
If your salad has a dressing — whether oil, yoghurt or mayo based – make sure to add this to bottom of the jar before any other things go in. Be sure to keep the jar upright, too. This will prevent any other ingredients from getting soggy in transit.
Protein power
Make sure any cooked chicken, mince or pork is completely cold before adding to your jar. The residual heat might make the other salad bits wilt.
Taste the rainbow
Make it colourful! Use ingredients of different colours and flavours when layering your salad. After all, you eat with your eyes first!
Shake it off
Never fill the jar all the way to the top. I leave a bit of breathing room so that I can give the jar a shake to toss through all ingredients. Make sure your jar has a tight fitting lid before you do this!
The fast and the fabulous
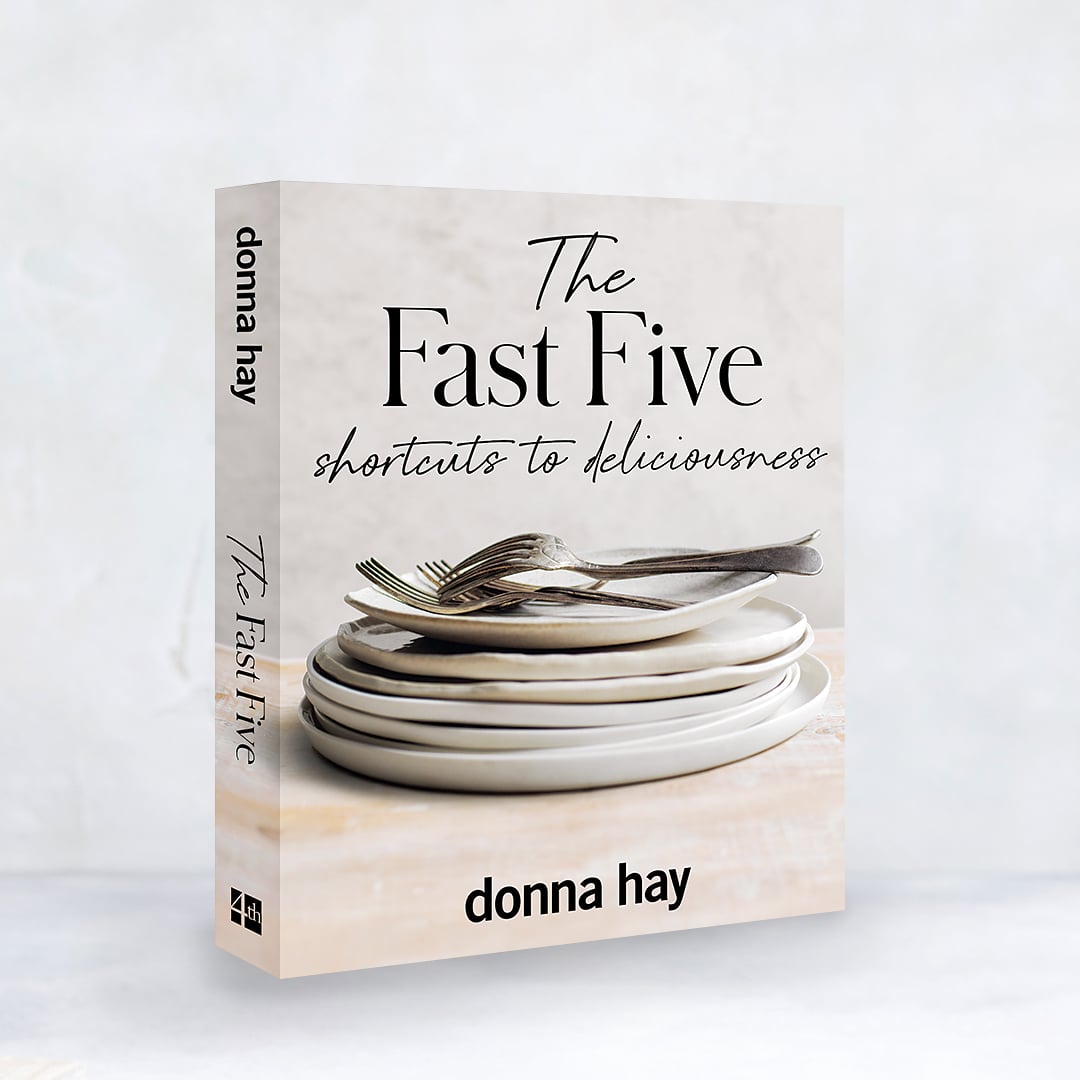
Us foodies have always had a slight obsession with award-winning cookbook author and food stylist Donna Hay! Her food styling has been my inspiration for years now, but her recipe development is what I fell in love with first.
Her latest book, The Fast Five: Shortcuts to Deliciousness, is an absolute beauty. Donna has reimagined weeknight favourites, like schnitzel or a pantry pasta, with the help of shortcuts, tips and substitutions.
Scan the QR codes that accompany some of the recipes and Donna will instantly appear on your screen to demonstrate all the hacks. It’s a must-have in your cookbook collection. You’ll thank me later…
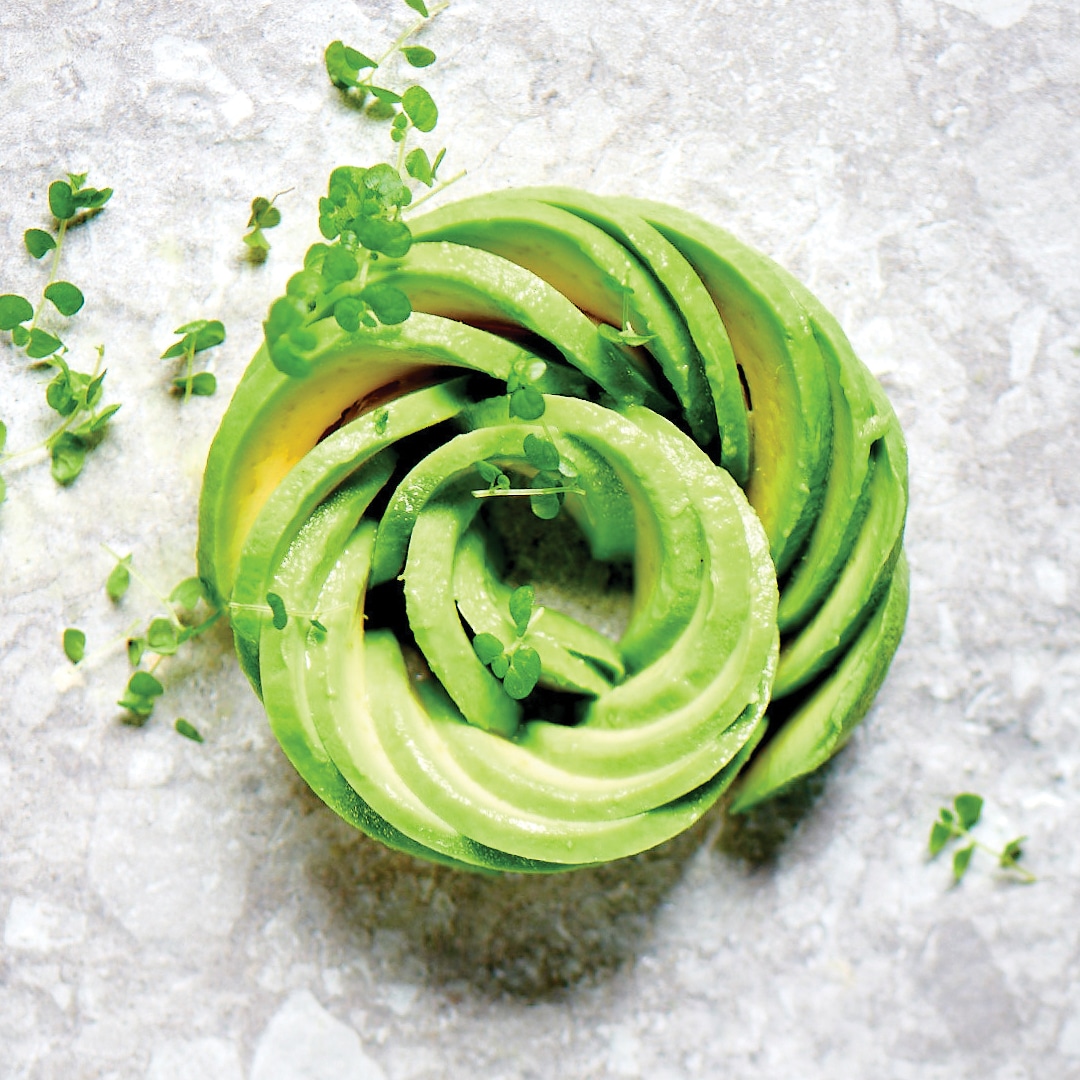
Roses are green…
Don’t be intimidated — this is super easy to make! Turn something as simple as avo on toast into an eye-catching masterpiece.
 .
. 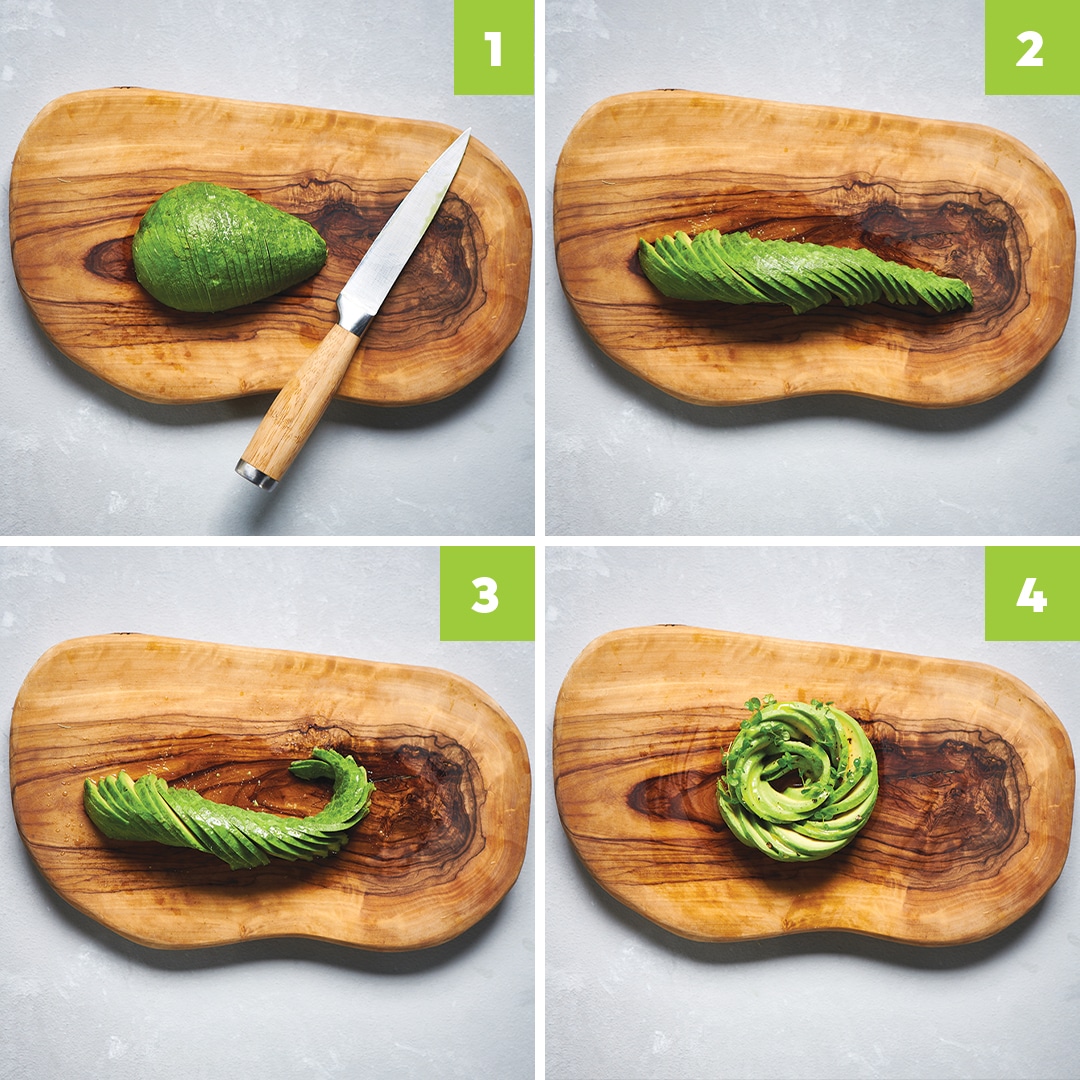
- Thinly slice the entire avocado using a sharp knife, such as a pairing or serrated knife.
- Using your fingers, spread out the slices into a long strip without separating them.
- Grab one end and slowly curl the slices into one another to resemble a rose.
- 4. Season the avo rose and add a squeeze of lemon juice to stop it from browning.
Photography: Supplied, Adobe Stock