Making your own bread just hits different, says Gail Damon. I From basic breads that pair perfectly with any wintery soup or stew to flatbreads for fabulous curries – anyone can make this. Compiled by:
Start it right
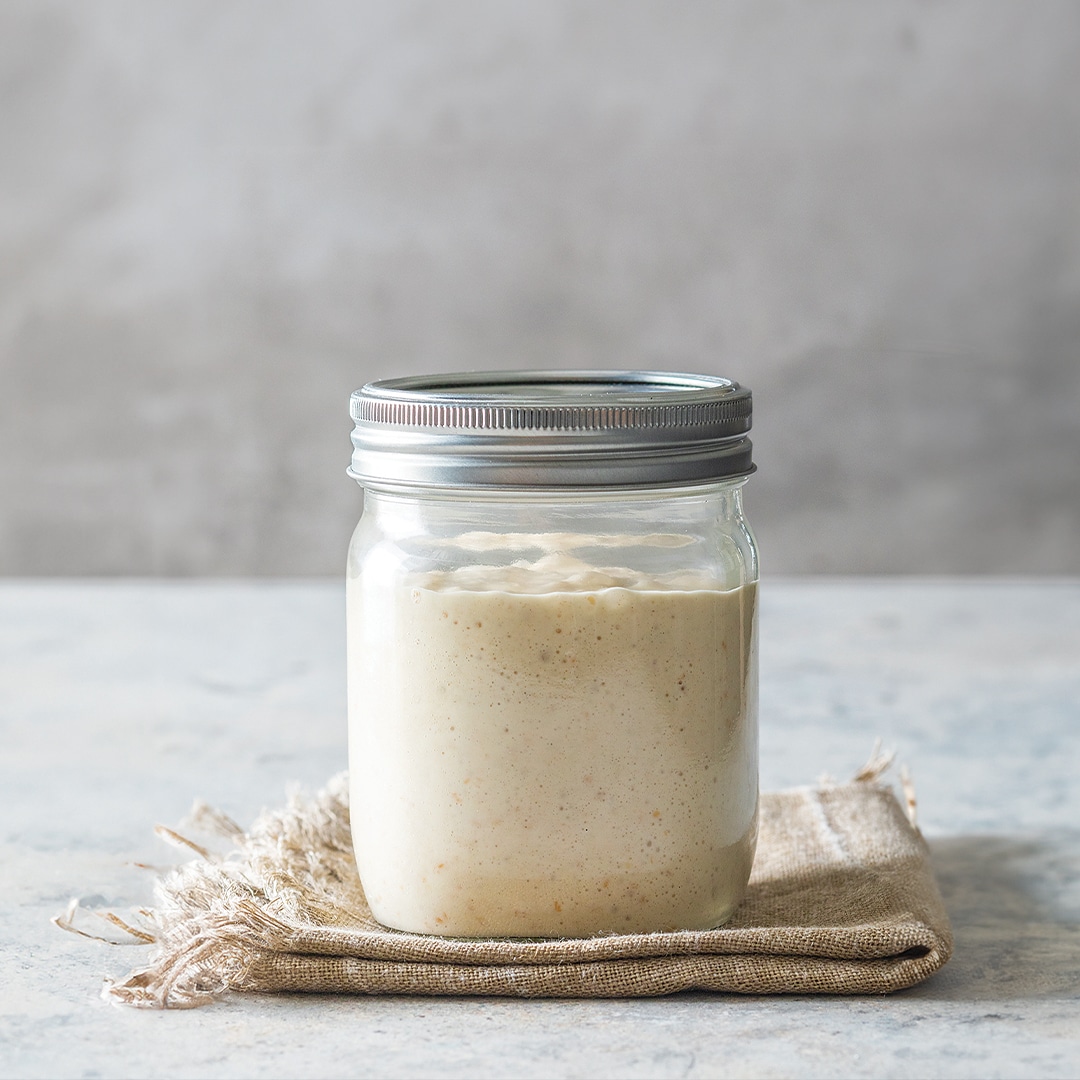
A sourdough starter is easier to make than you think! When used in the place of normal dry yeast, it’s really good for your gut and gives the bread a nuttier flavour and aroma.
Whisk 1 cup (150g) wholewheat flour and 1/2 cup (125ml) water until smooth. If it’s too dry, add 1/4 cup (60ml) water. Transfer to a jar, close the lid and leave to stand in a warm place for 24-48 hours, until bubbles start to form on top. Weigh the mixture on a scale and discard half. Combine 1 cup (150g) bread f our with 1/2 cup (125ml) water until smooth. Mix in the starter and return it to the jar. Set aside to stand for another 24-48 hours, until bubbles form again. Feed the starter again with more of the flour mixture. It will take at least 7 days before your starter is ready. Store it in the fridge – it will stay alive as long as you feed it 2-3 times a week using the method above (removing it from the fridge to do so). To use, take it out the day before baking to activate the wild yeast.
Steps to success
Prepare: Make your dough well in advance. Ensure that all ingredients are fully incorporated to avoid lumps after it has been baked.
Rise: Give your dough enough time. Two rises (once after kneading and once after shaping) delivers the best result.
Shape: The idea is to stretch and align the gluten molecules so that they form a “skin” over the dough. This gives the bread structure and bakes it uniformly.
Bake: For sandwich loaves, 180°C–200°C will form a beautiful crust. High hydration doughs (such as sourdough) need a hotter oven, usually 220°C–240°C.
Know the lingo
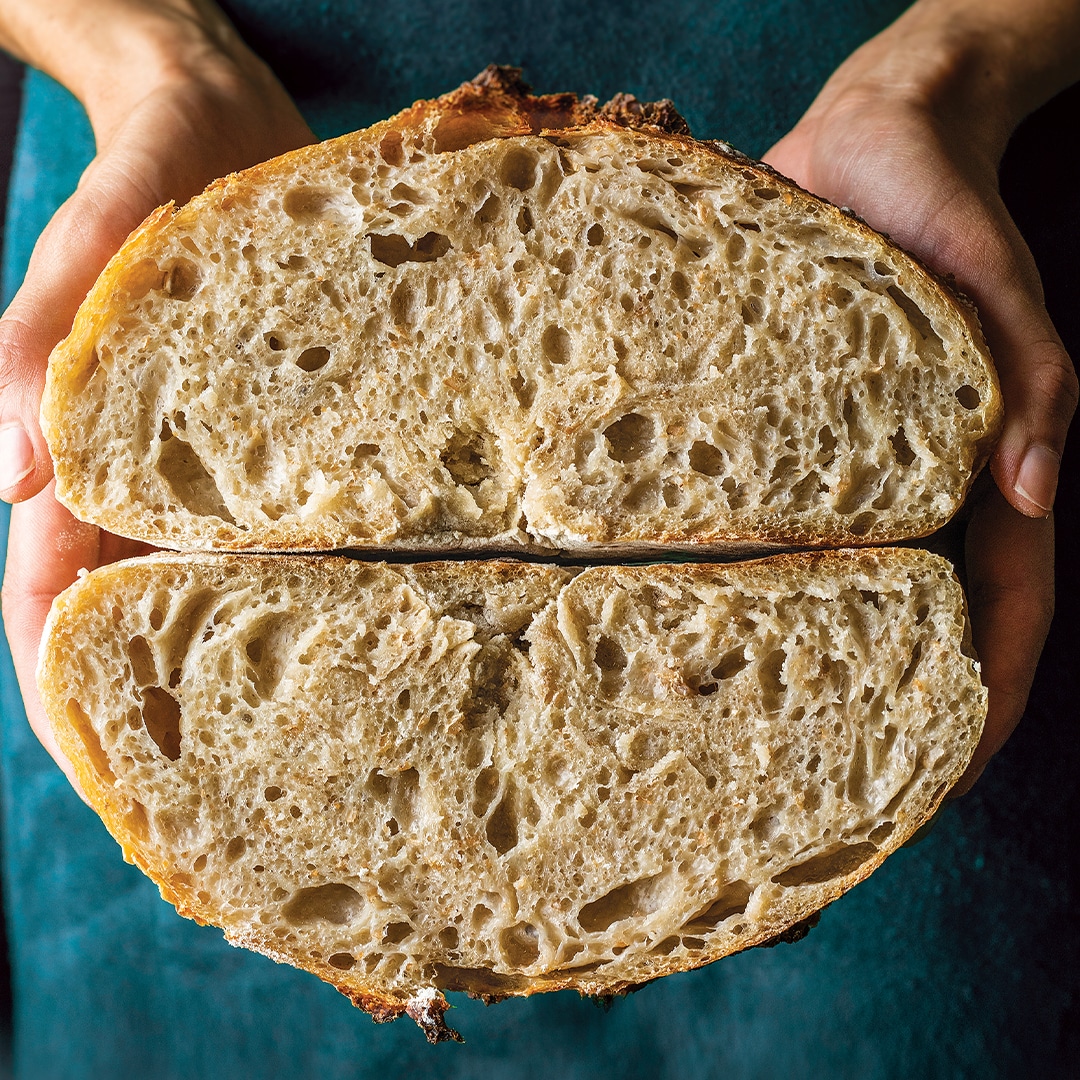
The crumb
This refers to the pattern, texture and the size of the holes inside your bread loaf.
The crust
This is the crispiest part of the bread, the darker outer layer. Sourdough crust is thicker and will have a shattering, crisp texture when cut, whereas a sandwich loaf is softer and thinner. Both should be a nice medium-caramel colour. If your bread is too light, then you’ll be missing out on flavour!
Fresh yeast
This is a mixture of yeast and water formed into a crumbly, solid block that resembles puffy. It provides a richer, slightly sweeter flavour to baked goods, with a better rising quality compared to the dried granules we all know. (Ask for this at the bakery counter in any retailer.)
Instant dry yeast
This is fresh yeast that has had its moisture removed. This can be added straight to your dry ingredients and does not need to be “activated” before use. Active dry yeast needs to be dissolved in lukewarm water before using. The golden rule? Avoid salt and dry yeast getting into direct contact, so be sure to mix one or the other with flour first.
Prove/ proof
Gluten strands (the stretchy part) relax and regain airiness that was lost during shaping of the dough. The dough rests (or proofs) and rises before it’s baked.
Compiled by: Gail Damon
Photographs: Fresh Living Magazine
Also read: Sausage-stuffed sourdough breakfast loaf

