
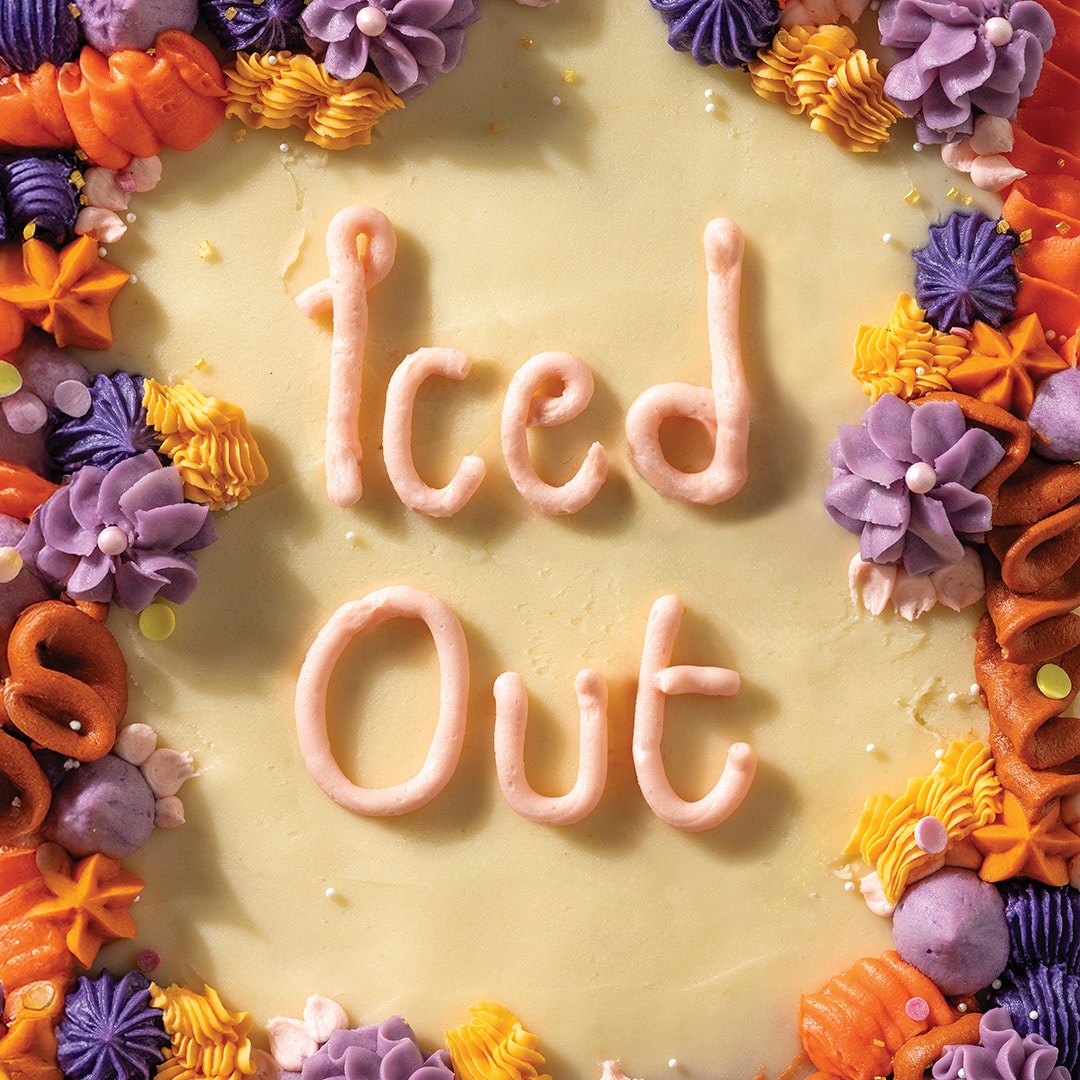
Become an ice princess with our complete guide to piping and decorating.
Frosted tips
Firstly, icing needs to be stable to make it ‘pipeable’. American buttercream, also called butter icing, is easy and quick to make. Butter icing is also fun to shape and manipulate, and it takes on colouring in a lovely way.
- Butter must be at room temperature to ensure even mixing. If you have fridge-cold butter, cut it into equal slices and microwave on defrost until you can easily butter bread with it (or a lovely indent is made when poking with a finger).
- Sifting the icing sugar is vital. If you don’t, your buttercream will still work, but you will be dealing with clumps of icing sugar that you can never completely remove. Halfway through mixing, and at the very end, remove the whisk attachment and properly scrape down the sides and base of your mixing bowl to ensure you bring the lesser-mixed sections (appearing as a darker yellow) to the centre.
- Colour your icing by separating portions of mixture into smaller bowls. Douse the end of a toothpick in your desired colour and swirl this through the buttercream. Mix well with a spoon to see how strong the colour becomes, then repeat, or if needed, add in drops to reach your desired hue.
- Fit a nozzle in the piping bag before filling. Cut between ½ – 1cm off the tip, if using a disposable piping bag, and push the nozzle to fit snugly against the plastic. (The bag shouldn’t bunch out or have any gaps.) Hold the bag in the middle using your dominant hand, folding the excess bag open over your hand. Use a spoon or spatula to add scoops of icing into the bag, sliding the spoon over your thumb to scrape off excess. Push the icing down towards the nozzle. Fill until your piping bag is maximum ⅔ full, then twist or tie the end. (Don’t overfill the bag or it won’t close and icing will spill out.)
Practice makes perfect!
To practise piping, grease four corners of a tray and place baking paper on top, pushing down to secure. Hold the tied end of the bag with one hand and place your other hand a bit further down onto the bulge of icing. Press from the top hand to squeeze icing and pipe onto the baking paper, swirling, dotting, pushing and pulling as you wish. You can always scoop your practice patterns back into a bowl to use again. If you hold the icing for too long, it will become looser due to the heat from your hand. If this happens, pop in the fridge for a few minutes to firm up. On the flip side, if your icing becomes too hard when in the bag, press it in between your fingers to help warm it up.
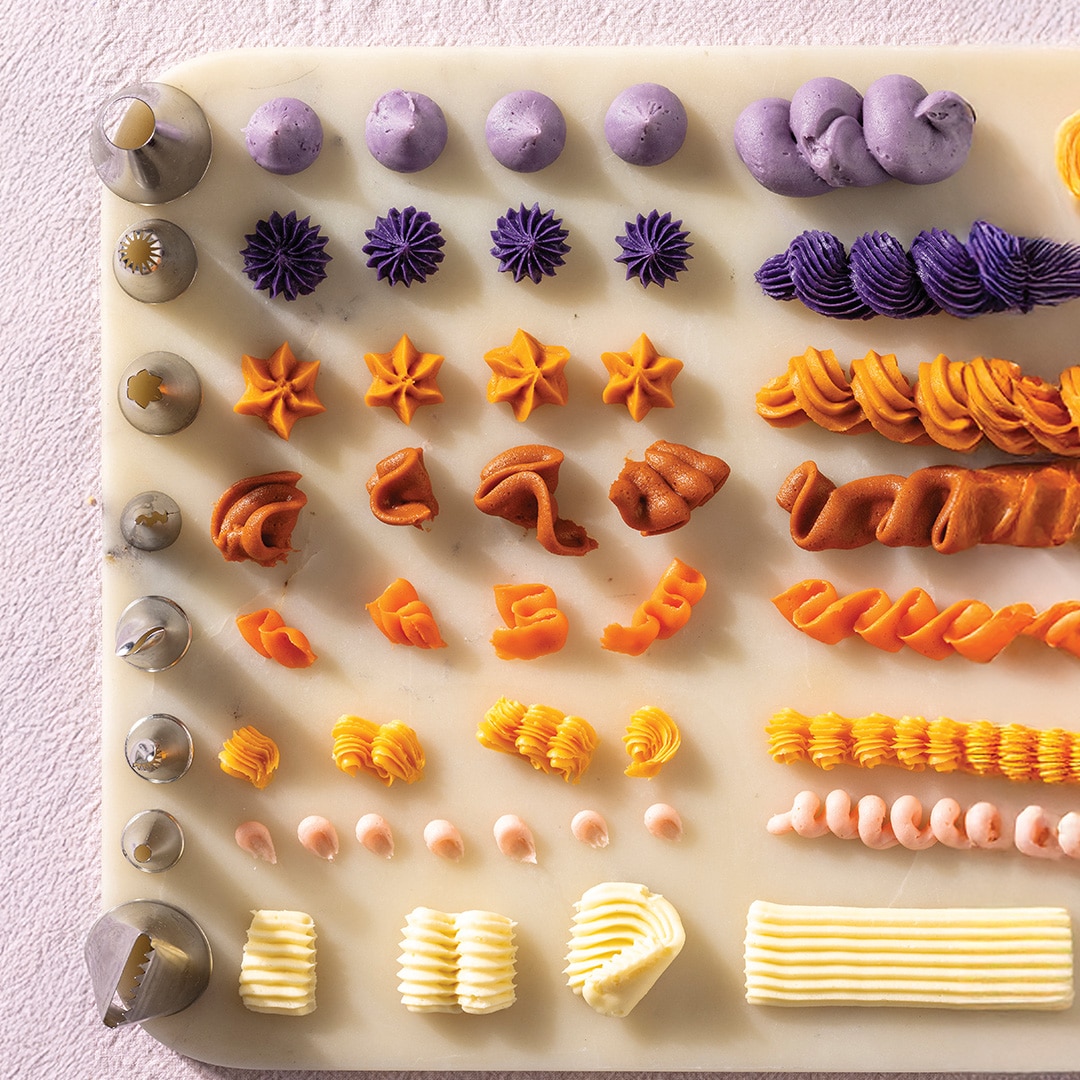
Patterns aplenty
1 Round nozzle/ plain savoy tube
This nozzle makes perfect pillowy teardrops.
2 French star (ATECO #19)
Creates fluted rounds that make a fun border for a circus-themed cake.
3 Open star (ATECO #32)
Creates a 6-pointed star or funky border.
4 Ruffle tube/skirt(ATECO #97)
Perfect for creating a light ruffled skirt around a border.
5 Ribbon/wavy petal nozzle (BAKING TIN #119)
Creates thin ribbons great for Victorian cakes.
6 Shell rope nozzle (ATECO #98)
Perfect for a delicate sea-shell border.
7 Small round nozzle
Any small round nozzle is great for writing on cakes or fine detailed dots or petals.
8 Basket weave nozzle (ATECO #48)
A trendy pattern used in a squiggle around cakes, but great for basket weaves too.
Vanilla buttercream
This makes enough to cover a 30x23cm cake and decorate it with all the twirls and patterns. You can halve the recipe to make less, or place leftovers in an airtight container and freeze for up to months.
Makes 1.5kg
Ingredients
2 cups (500g) butter, room temperature
7¾ cups (1kg) icing sugar, sifted
2 tsp vanilla essence
¼ cup (60ml) milk
Food colouring of choice
Method
- Place butter in a bowl and beat for 1 minute to loosen it up.
- Add half the icing sugar and slowly beat through (this prevents icing sugar from billowing up everywhere).
- Beat on medium until incorporated, about 2 minutes. Scrape the sides and base with a spatula.
- Add second half of icing sugar and beat on high until creamy, light and fluffy, about 3 minutes. Scrape sides and base again.
- Add vanilla for flavour and milk to loosen slightly.
- If colouring, divide into the number of bowls you need for each colour.
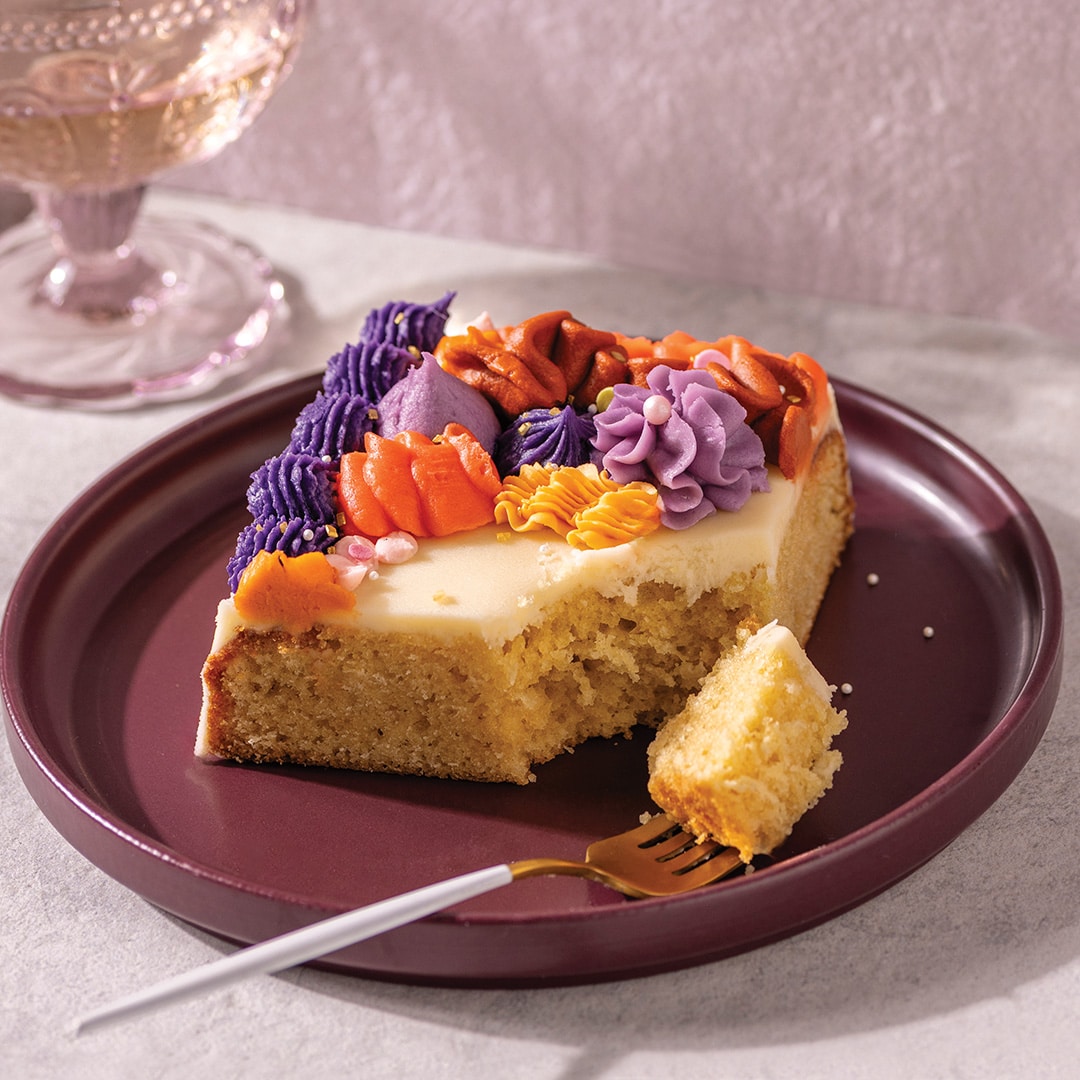
The icing on the cake
To finish your newly decorated cake, we suggest adding one or two extra sparkles such as:
-Colour matched sprinkles or edible glitter.
-Chopped fruit, chocolate or biscuits, sweets or nuts (try match these to the flavour of your cake).
-3D fondant decorations themed to your cake such as animals or figurines.
-Candles or cake toppers.
Recipe & styling: Sjaan van der Ploeg
Photography: Zhann Solomons
Also read: Raspberry and vanilla mille feuille with Selati Sugar