
Time to take things up a notch with clever garnish ideas, gelatine 101 and creating the perfect pastry finish.
The 5th of February is World Nutella day! To celebrate, here are two simple ways to make your own chocolate spread at home!
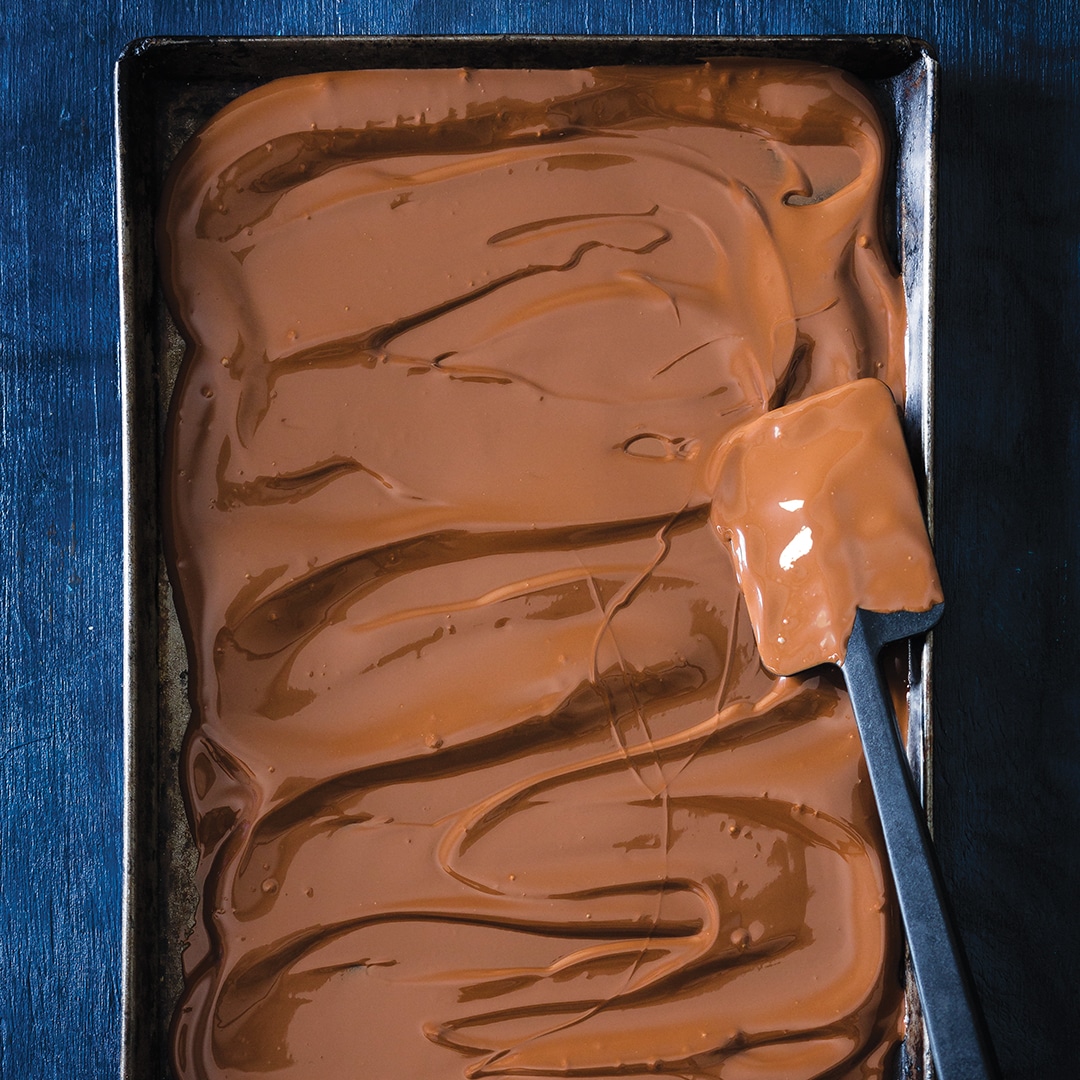
Hazelnut chocolate spread
Makes about 1 cup
- Roast 200g blanched hazelnuts on a baking tray at 180°C for 10 minutes, until fragrant and golden.
- Shake the tray halfway through to ensure even roasting.
- Add nuts to a high-powered blender and pulse for 5 minutes, until a chunky paste forms, scraping down often to aid in blending.
- Melt 80g dark chocolate with 3 Tbsp coconut oil, add to blender and blitz for 5 more minutes until smooth, stopping to scrape the mixture down every 30 seconds.
Peanut butter chocolate spread
Makes 2 cups
- Add 1 cup smooth or chunky peanut butter and 2 Tbsp boiling water to a large bowl.
- Whisk to combine. Melt 80g dark chocolate with 2 Tbsp coconut oil.
- Add chocolate to peanut butter along with ½ tsp vanilla extract, and 1 tsp salt.
- Whisk through until smooth and thick.
Cook’s note
Scoop the chocolate spread into an airtight jar or container and refrigerate for up to three weeks. Keep at room temperature for a while to soften.
Washed up
The finished look of your pastry can differ depending on what you use to baste it with before baking. Take a look at our wash chart:
Milk
Leaves a pale-yellow finish, perfect for scones and bread.
Butter
- Brush before baking for a crispy and flaky pastry, but monitor carefully to prevent burning.
- Brush after baking for a super glistening sheen, perfect for cinnamon rolls.
Honey
- Brush towards the end of baking to create a deeper colour on bakes that aren’t browning.
- Brushing afterwards leaves a shiny gloss coat, perfect for hot cross buns.
Sugar or salt
Sprinkle over pastry immediately after baking – this creates texture and emphasises flavour. Perfect for cookies or brownies.
Whole egg or egg and a splash of milk
Creates a golden finish, perfect for croissants, tarts and sweet bread.
Egg yolk
Creates a thicker layer and delivers a deeper golden finish, perfect for pies.
Egg white
Keeps pastry a pale colour and seals it, creating a barrier between the dough and filling. Can be used as a “glue” when folding pastry on itself.
Simply set
Quick tips on how to use gelatine in bakings
- Gelatine contains animal products and isn’t vegetarian or halal. Substitutes such as Agar Agar (made from seaweed) or Xanthan gum (corn and sugar) can create effects similar to gelatine.
- 1 tsp powdered gelatine equals 2 leaves gelatine – but each one has different setting abilities. Substituting them may not result in the required consistency. 3 tsp gelatine (6 sheets) sets 500ml liquid.
- Processing gelatine is called “blooming”. To bloom sheets, submerge completely in cold water for 10 min then gently wring out the liquid. The hydrated sheets are now ready to be used in recipes or can be melted.
- To melt gelatine, microwave for 3 seconds at a time, stirring in-between. You can also heat a small pot of water on the stove, place gelatine in a glass jug and lower into the hot water, stirring gently until melted. Don’t overheat as it will lose its setting capacity.
- When adding melted gelatine to a cold mixture, the process needs to be fast. Whisk the specified amount of cold water into granules and set aside for 10 minutes. (FYI: It’s a powder, so you can’t put it under water like a sheet.)
Words by: Sjaan Van Der Ploeg
Photographs: Fresh Living Magazine, Shutterstock