When kids make their own snacks, it boosts confidence, enhances fine motor skills, increases focus and attention.
Kids rule the kitchen this month. Why? These dishes require minimal or no adult supervision. So close the kitchen door, take a deep breath and let the foodie fun begin!
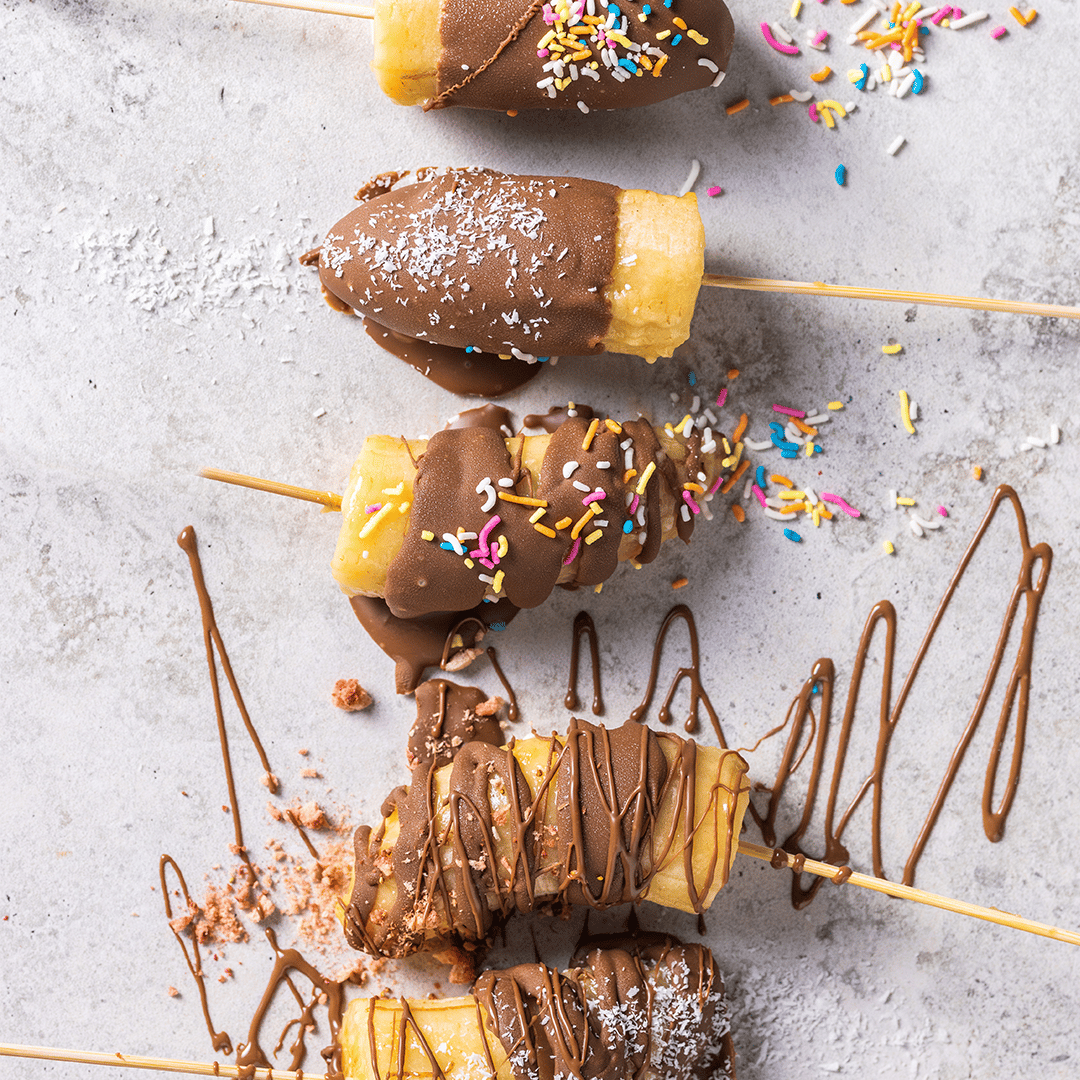
Banana chocolate dips
Makes 8
Total time 25 min plus freezing time
Ingredients
- Bananas, peeled, halved and frozen 4
- Lolly sticks 8
- Milk chocolate, chopped 4 slabs
- Frozen berries handful
- Sprinkles handful
- Desiccated coconut handful
Method
- Push a lolly stick into the base of each banana and place the fruit in the freezer.
- Put the chocolate in a microwave-safe bowl that, such as ceramic.
- Place the bowl in the microwave and heat for 15 seconds at a time stirring in between. Continue until the chocolate is melted and smooth.
- Pour the chocolate into a tall glass to prepare for dipping the bananas.
- Get the strawberries, sprinkles and coconut ready in separate bowls.
- Remove the bananas from the freezer and place them on a lined baking tray.
- Hold a banana by the lolly stick and slowly submerge 3/4 of it into the melted chocolate. 8. Lift it out of the glass and allow the excess chocolate to drip off back into the tall glass.
- Place the freshly dipped banana on the tray and decorate it with the strawberries, sprinkles and coconut before the chocolate sets.
- Repeat the process with the remaining bananas until they are all dipped and decorated. 11. Place the bananas in the fridge for 15 minutes to allow the chocolate and the toppings to set properly before you dig in immediately.
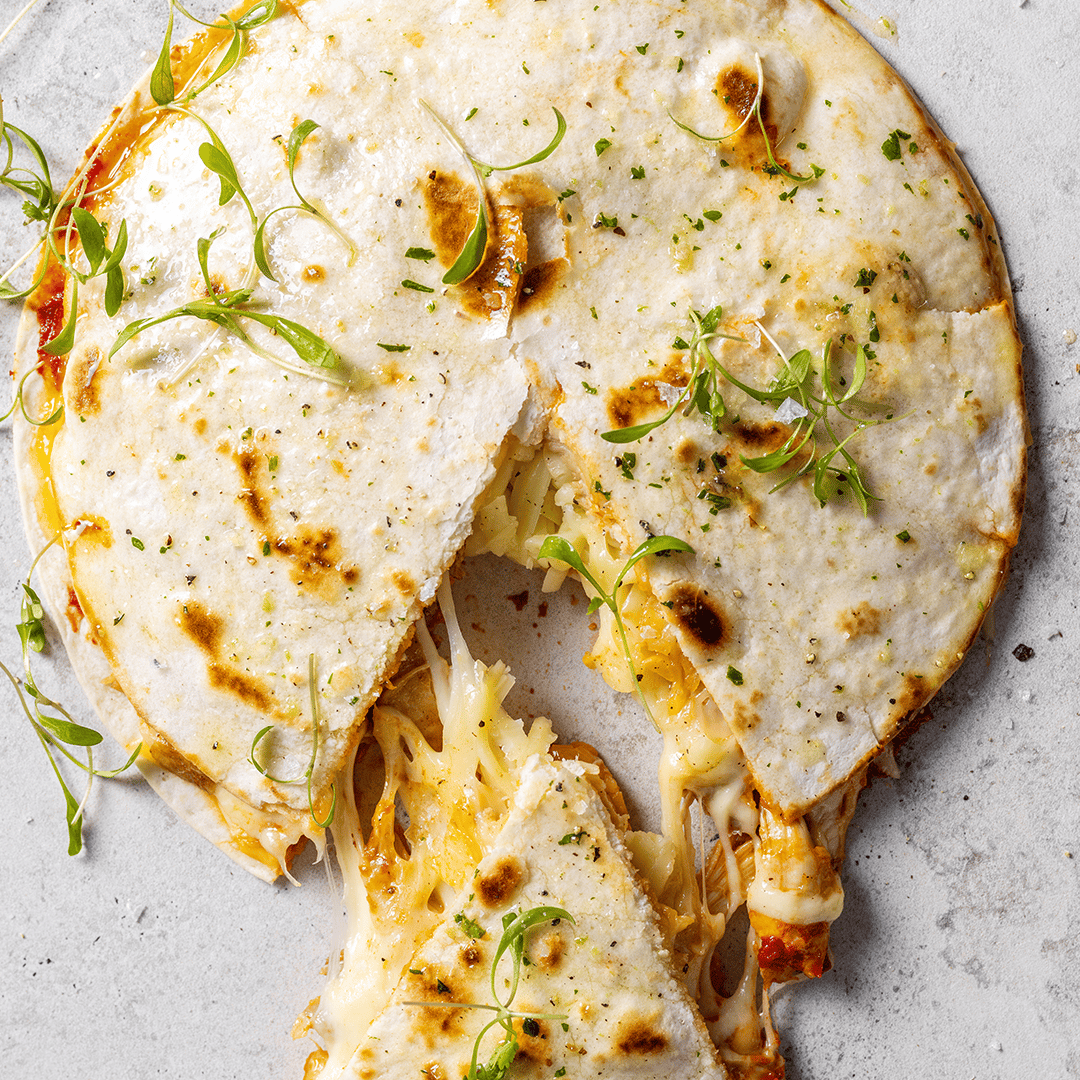
Microwave cheesy chicken quesadillas
Makes 2
Total Time 5-10 min
Ingredients
- Small white flour tortillas 4
- Tomato sauce 1 cup
- Dried Italian herbs 2 tsp
- Cheddar, grated 1 cup
- Mozzarella 1/2 cup
- Shredded chicken 1 cup
Method
- Put two tortillas on your work surface.
- Squeeze the tomato sauce onto each tortilla and spread it with the back of a tablespoon. 3. Layer the herbs, cheddar, mozzarella and chicken on each tortilla.
- Close them up with the other two tortillas and press down gently to seal the quesadillas. 5. Place one quesadilla on a plate and microwave it for 30 seconds.
- Heat it for another 30 seconds or until the cheese has melted. Keep an eye on it while it’s in the microwave to make sure it doesn’t burn.
- Remove the quesadilla from the microwave and repeat the process with the second one. 8. Once the cheese has melted, set the quesadillas aside for a few minutes to allow them to cool. Slice them into triangles before serving while still warm.
Top Tip
Serve your quesadillas with a dollop of guacamole or yoghurt
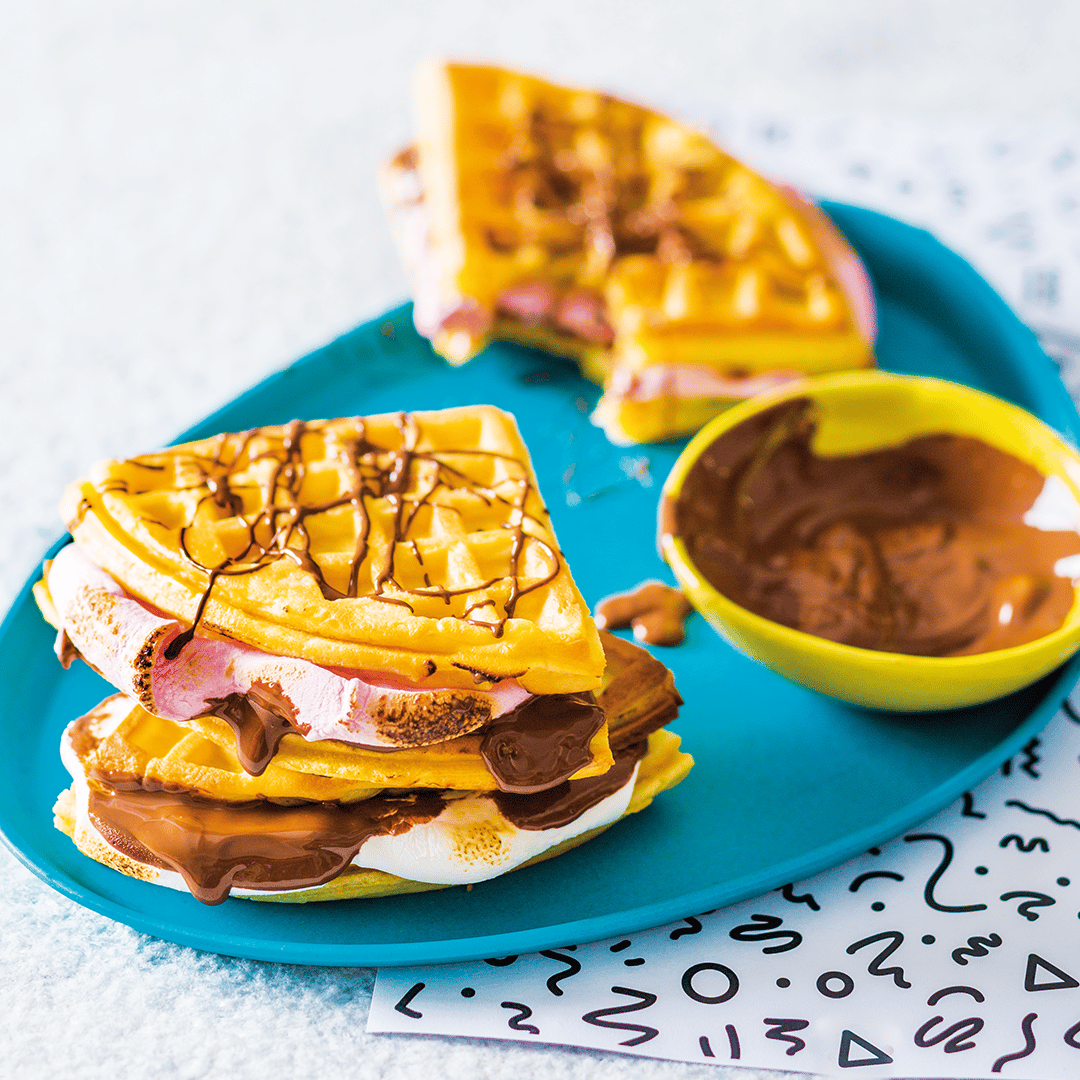
Waffle s’more sandwich
Serves 4
Total Time 10 min
Ingredients
- Frozen waffles 4
- Milk chocolate, chopped 2 slabs
- Marshmallows 16
Method
- Toast the waffles until golden.
- Cut them into quarters to create 16 identical triangles.
- Place the chocolate in a bowl that is microwave-safe, such as glass and ceramic bowls.
- Place the bowl in the microwave and heat for 15 seconds at a time, stirring in between, until the chocolate is melted and smooth.
- Put 8 of the waffle triangles on a plate and top with 2 marshmallows.
- Place the plate in the microwave and heat for 20-30 seconds until the marshmallows are gooey.
- Spread spoonful of the melted chocolate on the 8 remaining triangles.
- Sandwich together one quarter with chocolate and one with marshmallows. Repeat with the rest and serve warm.
No-bake power balls
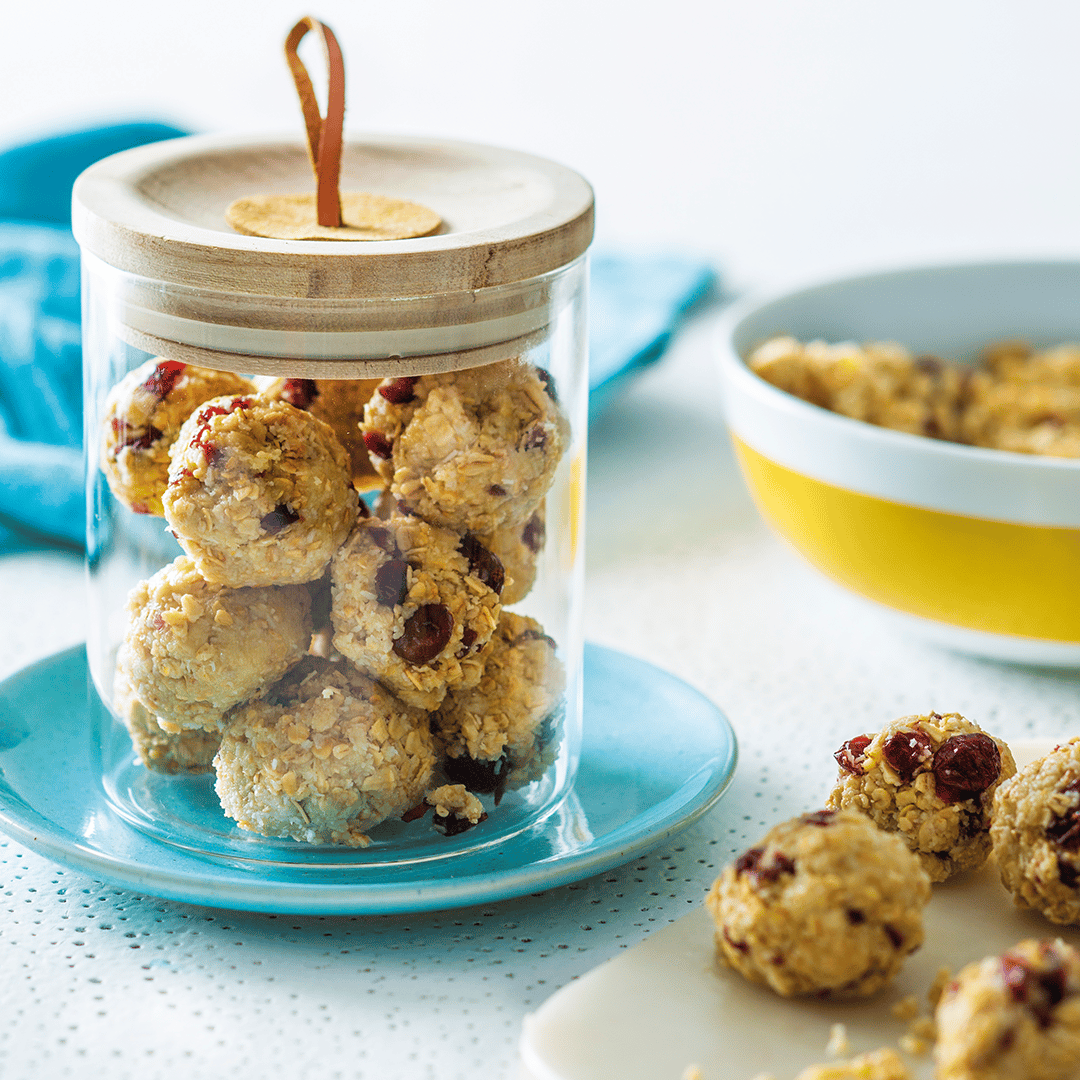
Makes 22-25
Total Time 30 min
Ingredients
- Peanut butter 1/3 cup
- Honey or syrup 1/3 cup
- Rolled oats 1 cup
- Desiccated coconut 1/2 cup
- Almond flour 1/2 cup
- Dark chocolate, almonds or dried cranberries, chopped 1/2 cup
Top Tip
No almond flour on the shelf? Simply blitz a handful of almonds until it resembles flour.
Method
- Combine the peanut butter and honey or syrup in a bowl.
- Stir through the remaining ingredients until combined.
- Place the mixture in the fridge for 15 minutes to chill.
- Use a tablespoon to scoop portions of the mixture.
- Roll a portion between the palms of your hands to shape it into a ball. Repeat this process until you have 22-25 power balls.
- Store them in an airtight container for up to 15 days.
Top Tip
When you get to Step 2, you can fold in all sorts of dried fruit and nuts depending on what you think is yummy.
Words by Sjaan Van Der Ploeg
Photography: Fresh Living Magazine, Zhann Solomons

