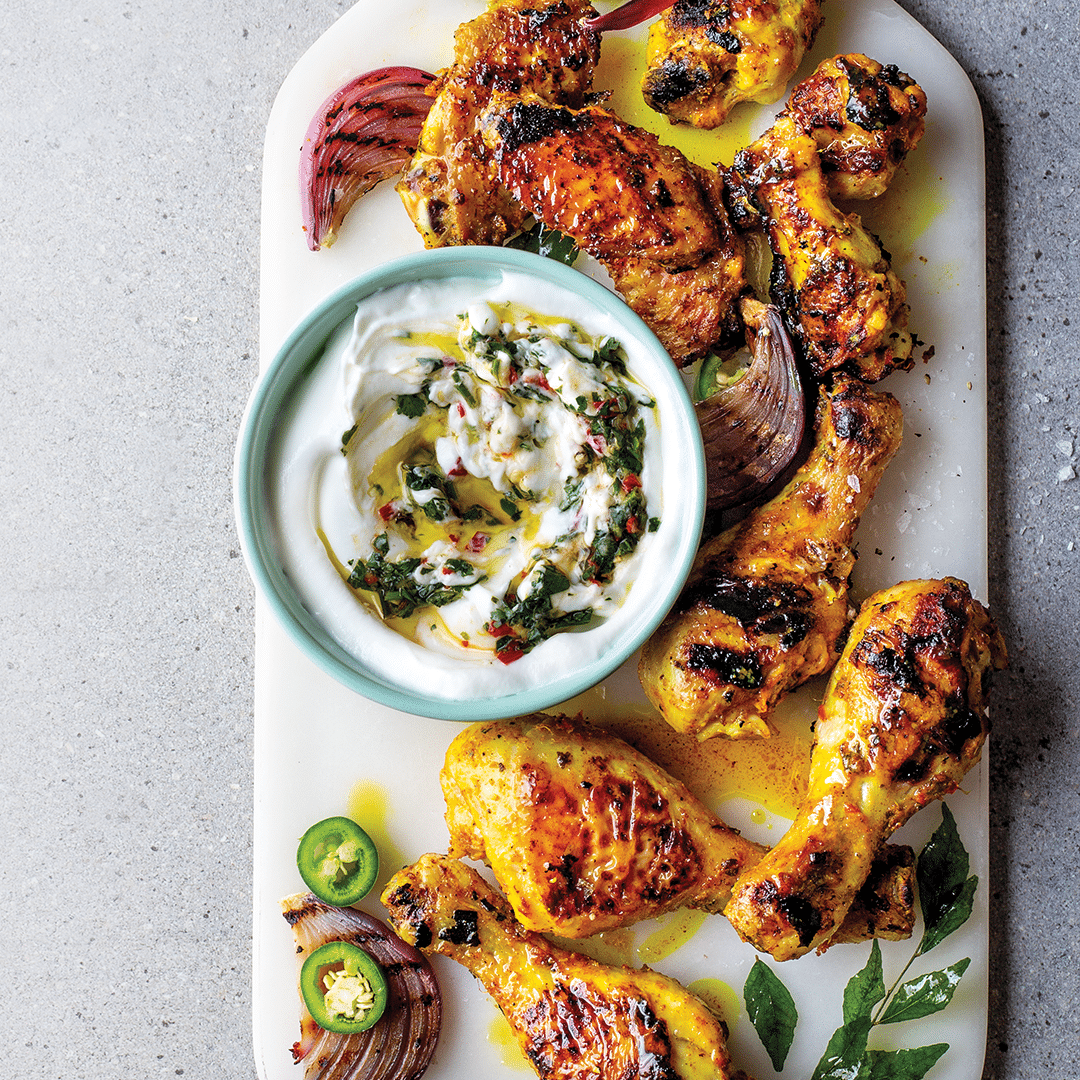
Elevate your braaiing skills with these hacks. The proof is in the pudding… but it all starts with the prep! Master these hacks ahead of National Braai Day.
Braai hack cheat sheet
Top tips for a better braai, every time!
Brush it off
Before you get started, make sure your grid is clean – use scrunched tin foil or a steel brush to scrape off any food remaining from your previous braai. After each use, make an effort to soak the grid right away and to scrub it down so next time you’re craving a braaibroodjie, your grid is ready to go!
Also read: Braai-guest etiquette 101
Soak it up
If you’re braaiing homemade kebabs, soak the wooden skewers in water for 10 minutes before threading on the meat. This will prevent the wood from burning when the meat is cooking.
Super stack
Don’t go overboard with the wood! Instead, try this…
- Place a small pile of kindling at the base of your pit. This can be made up of thinly cut wood, a bunch of sticks or even dried leaves.
- Use matches to light your pile or top it with a few cubes of lit fire starter.
- Once the fire is burning well, place two larger pieces of wood parallel to each other on top of the fire, followed by another two small pieces of wood going the opposite way. A bit like a Jenga tower!
- Now hold thumbs your fire makes it… Just kidding! Make sure that your fire has enough space to burn (the space feeds the fire oxygen), and only add wood once your fire is properly burning.
- As the coals form, use tongs to push them to the edges of the fire. Slowly add more wood to keep the fire going and to create more coals.
Good braai, baby!
- You never want to start braaiing with active flames. Once a bed of coals has formed, you can put your food on.
- Use bricks to add height to your grid: this moves the meat further away from the heat. Usually, when you can hold your hand over the coals for 7-10 seconds, you can begin to cook.
- The goal is to achieve an even, caramelised colour all over your meat, so you want to refrain from turning it too often.
- Once your meat is cooked, remove from the grid and place in a serving tray to rest for 5-10 minutes before digging in.
Also read: Tips and Tricks for Getting the Best out of Your Braai
Words: Sjaan van der Ploeg
Photography: Fresh Living Magazine/ Shutterstock
Enjoy this read? Subscribe HERE for more yummy recipes!


