Everything you need to know to grow microgreens – a powerhouse superfood packed full of flavour.
Many of us have probably tried to grow herbs or vegetables on our kitchen windowsills at some point, pouring our heart and soul into the saplings only for them to produce two tiny fruits before fizzling away, defeated. Microgreens are different.
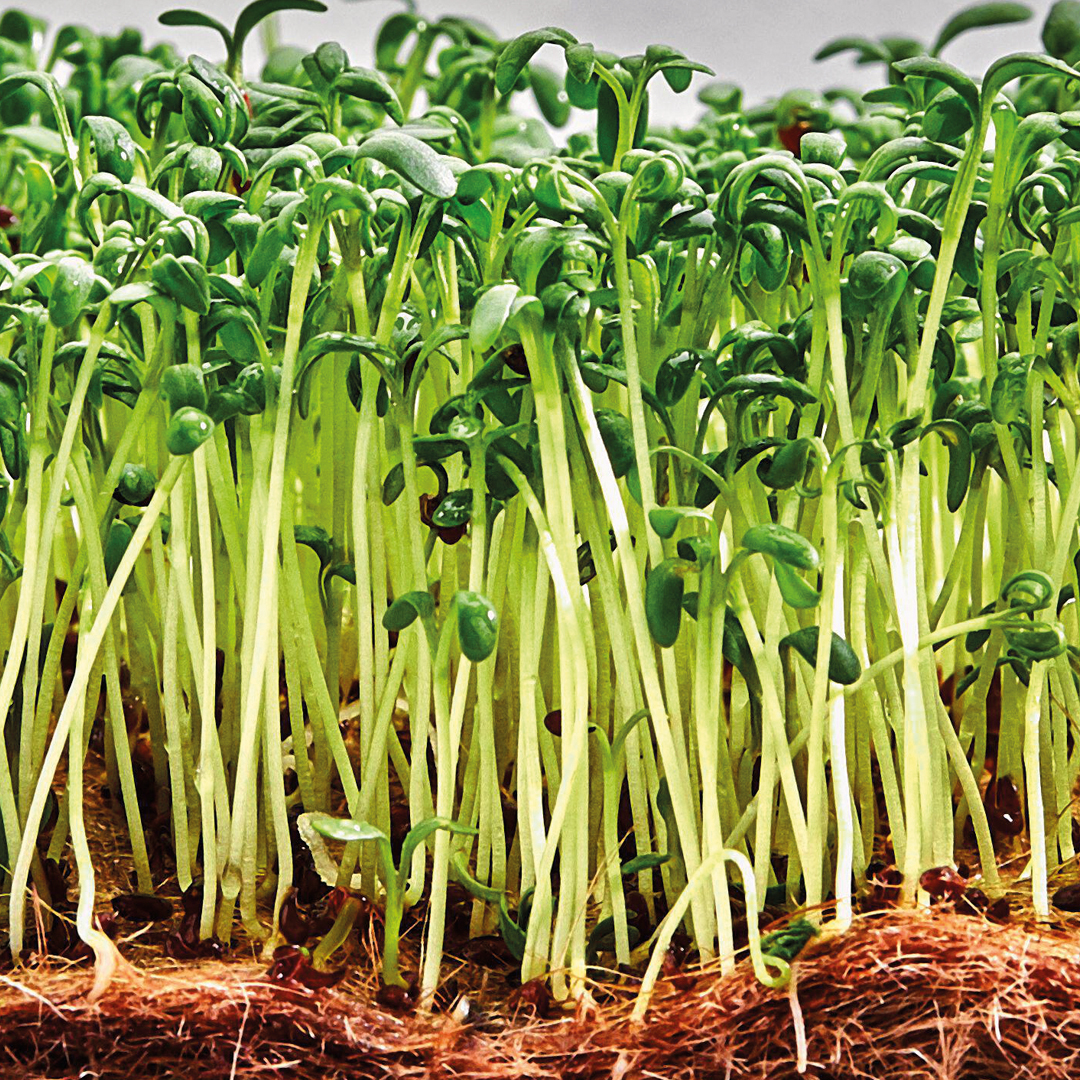
Despite their fragility, microgreens are easy and cost effective to grow without any fuss or fancy supplies. Sown in micro crops by the hundreds, all microgreens need is water and two to three weeks to flourish into a vibrant field of green, and will remain alive and fresh for you to snip off as needed. They are also packed full of flavour, texture and healthy nutrients.
Small but mighty
Microgreens are a superfood that will benefit any diet. Since they are harvested so early on in their life cycle, microgreens are still packed with the nutrients they need to grow into a mature plant. They also offer various health benefits. Broccoli microgreens are the most nutrient dense, with relatively high levels of glucoraphanin and sulforaphane, which are known to play a role in preventing cancer. Let’s also not ignore just how cute they are.
A sprinkling of microgreens confetti will add texture, flavour and a little je ne sais quoi to any dish, from soups and sandwiches to juices and desserts, too.

Choosing your seeds
Microgreens are grown from the same seeds as mature plants but are planted far more densely and harvested earlier in the plant’s life cycle. Common varieties include rocket, radish, broccoli, nasturtium, mustard and cabbage. Each variety will have its own unique leaves, colours and flavours, so explore as many as you can. Fine seeds, such as mustard, can be sown densely directly on to soil, while larger seeds such as nasturtium and peas need to be soaked overnight beforehand.
Sprouts vs microgreens
Microgreens are often confused with sprouts – the main difference between the two is the stage in the plant’s life cycle at which they are harvested. Sprouts are harvested a few days after planting, before they develop leaves and are consumed root, stem and all. Microgreens, on the other hand, require a few weeks of growth and are trimmed from their roots once their true leaves emerge.
What you will need to grow your own microgreens
- A large tray or container. You can get seedling trays from nurseries, although cleaned takeaway containers, clear strawberry tubs and disposable foil dishes also work really well. If your chosen container doesn’t have built-in drainage, poke a few holes in the bottom to allow excess water to run out.
- Fine-grain potting soil. Any large chunks of bark will disrupt the coverage of the microgreens, so fine-grain is key here.
- Organic micro herb seeds
- A spray bottle for water
How to grow microgreens
- Read the package of your seeds to see if they require any specific preparation. Larger seeds will need to be soaked overnight.
- Lightly moisten your soil until damp, but not soggy, then pack it into your containers until 3 cm deep. Flatten the soil gently with your hands, being careful not to over compress it.
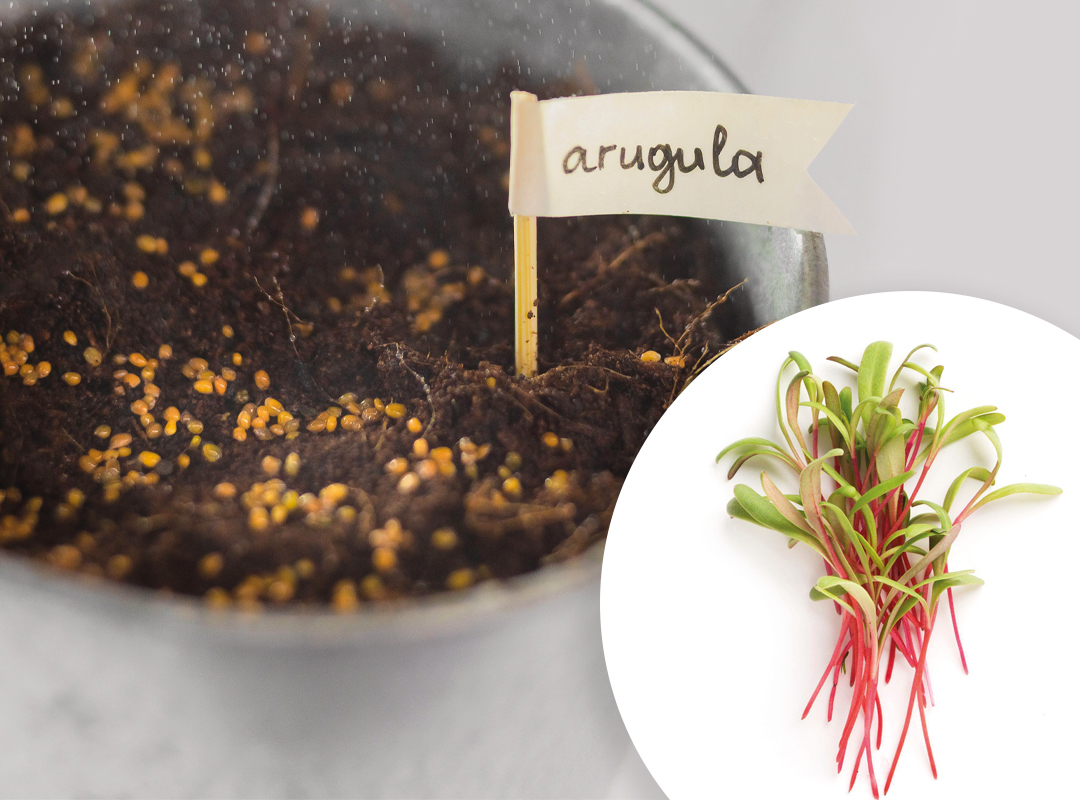
- Sprinkle the seeds evenly over the surface of the soil. Cover the seeds with a thin layer of soil and spray with water to dampen the surface.
- Cover the container with cling film, a thin layer of cardboard or the lid of the container you used to lock in humidity. Keep the sprouts out of direct light for a few days to germinate, spraying the soil daily to maintain the moisture level.
- Once the seeds have sprouted, remove the cover. Place in a sunny spot that receives indirect light and lightly water until the microgreens are about 5 cm tall and have developed `true leaves’. Depending on the seeds you used, your microgreens should be ready to harvest in about two weeks.
- Harvest your microgreens as needed by snipping them above the soil line. Microgreens will generally not regrow once cut. Once depleted, compost your soil and start a new tray.
Words by Kirsty Buchanan
Photography: Alamy


