
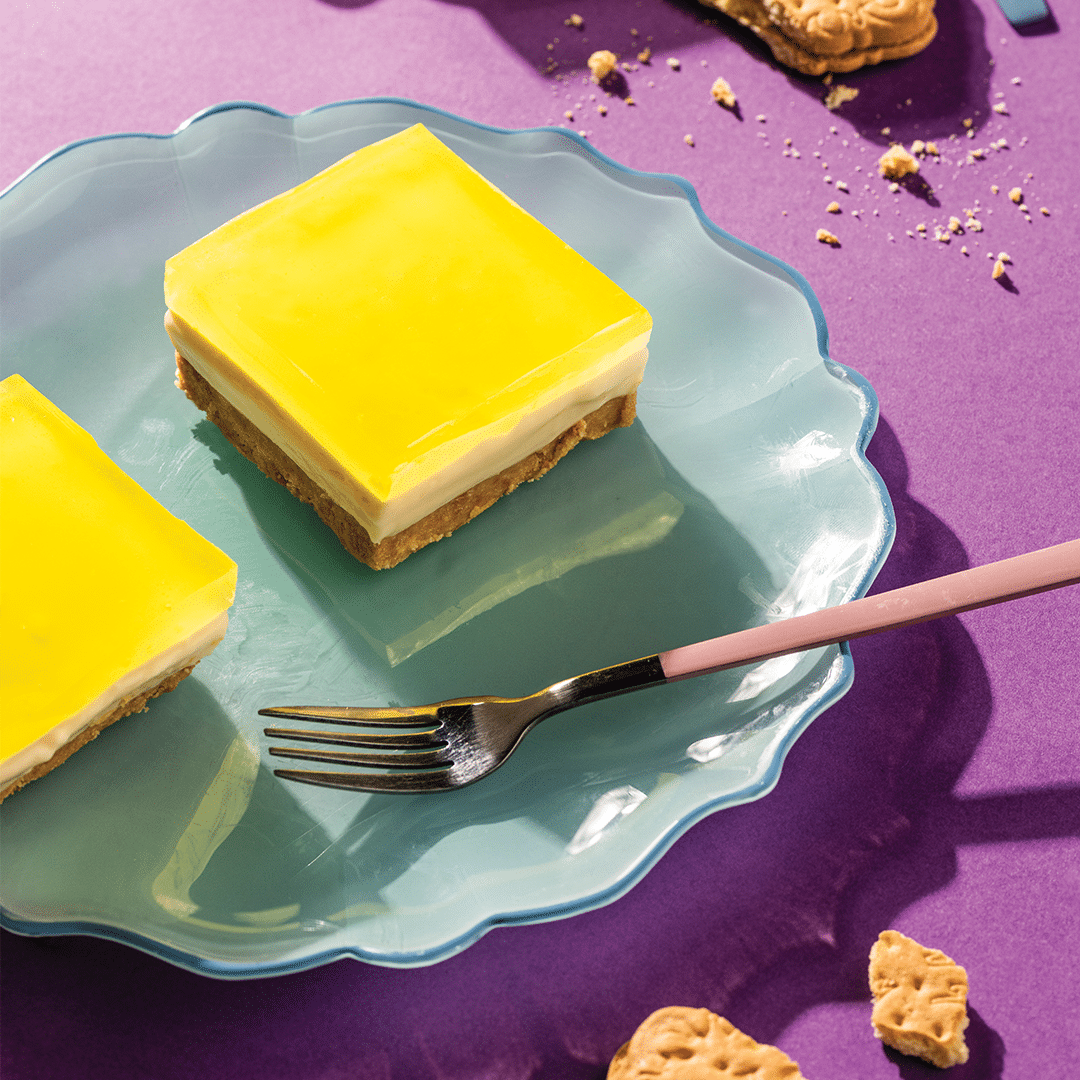
Where has this Lemon Creams crust been all our lives! This creamy, smooth slice with a zesty lemon flavour just takes the cake.
Makes 12
Ingredients
2 packets (200g each) Lemon Creams biscuits
¾ cup (150g) melted butter
2 sachets (80g each) lemon jelly
2 cups (500ml) boiling water
13 cup (410ml) cold water
For the filling:
2 tsp (10ml) gelatine powder
2 Tbsp (30ml) water
1 tub (230g) cream cheese, at room temperature
½ cup (125ml) lemon juice (about 3 lemons)
1 tsp (5ml) vanilla essence
2 cans (385g each) condensed milk
Method
1. Double line the base and sides of a 20x30cm cake tin or baking dish with baking paper, creating overhang on all the sides. (This will assist with removal later.)
2. Blitz biscuits to a fine crumb in a food processor. Alternatively, place in a resealable bag and crush with a rolling pin.
3. Combine crumbs with melted butter. Transfer to the prepared dish and firmly press into base using the back of a spoon. Set aside.
4. For the jelly layer, combine jelly powder and boiling water, stirring well to dissolve completely. Once dissolved, stir in cold water and set aside.
5. For the cheesecake filling, stir the gelatine and water together in a small bowl. Set aside to bloom.
6. Whisk together cream cheese, lemon juice and vanilla essence until smooth. Add condensed milk and whisk until combined and thick.
7. Heat gelatine in the microwave for 3 seconds at a time, stirring at each interval, until dissolved. It is crucial that it never boils.
8. Add liquid gelatine to cream cheese mixture and quickly whisk through to incorporate thoroughly.
9. Pour cheesecake filling over crust and even out with a spatula.
10. Hold a large spoon over the dish and pour jelly onto the spoon. (This fans the liquid out, preventing it from tunnelling into the cream cheese filling.)
11. Gently transfer to the fridge. Chill for 4 hours, or until fully set.
12. Slice into 6cm squares and serve. Refrigerate leftover squares in an airtight container.
Recipe & Styling: Sjaan Van der Ploeg
Photography: Zhann Solomons